Loading line onto a spinning reel is an important step in setting up your fishing gear. Loading line onto a spinning reel is an important step in setting up your fishing gear. Here’s a step-by-step guide for beginners:
What You’ll Need:
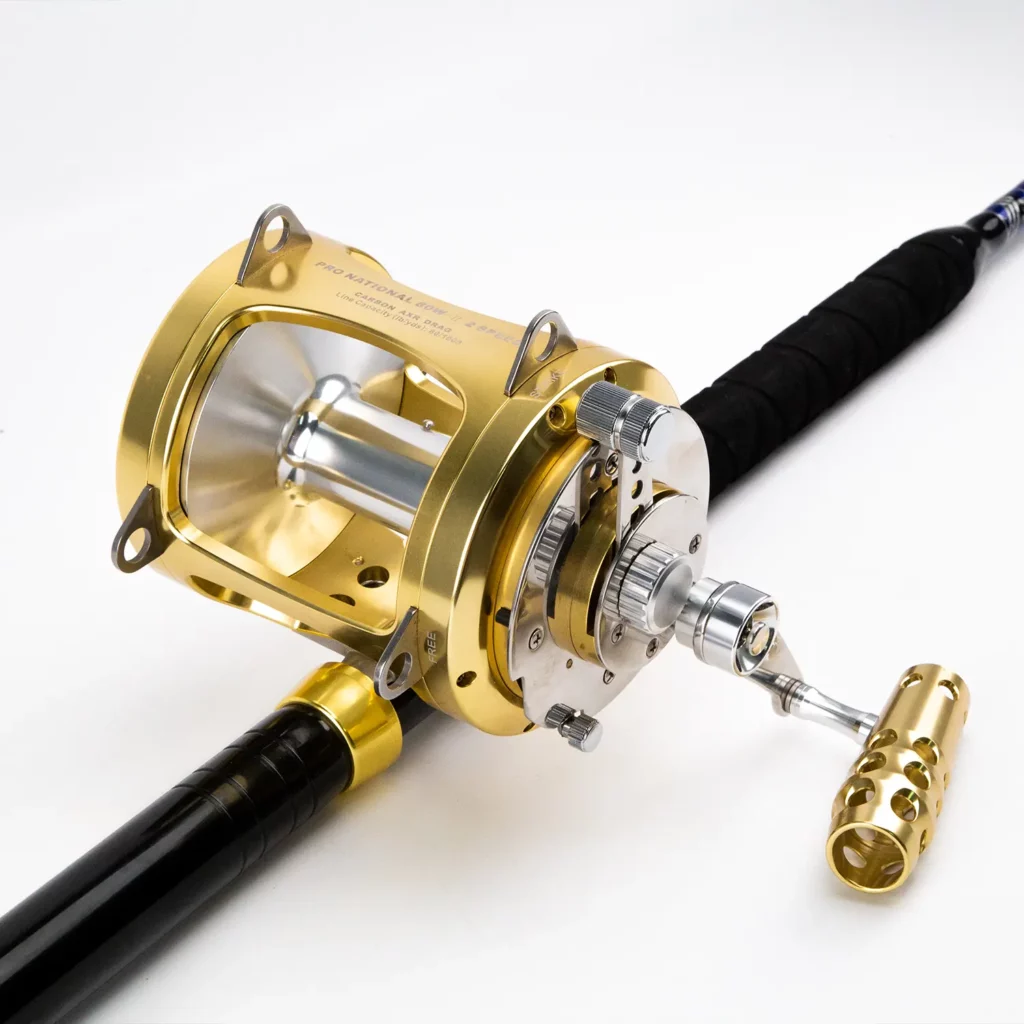
1. Spinning Reel:
The reel that you’ll be loading with fishing line.
2. Fishing Line:
Choose the appropriate fishing line based on your fishing needs. Monofilament, fluorocarbon, or braided lines are common choices. The specific pound test and type of line depend on the type of fishing you plan to do.
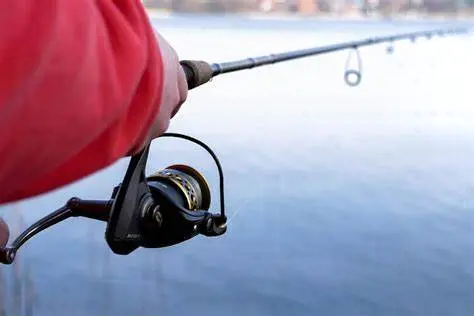
3. Fishing Rod:
Make sure your reel is attached to a fishing rod. The rod should be appropriate for the type of fishing you’re doing.
4. Line Clippers or Scissors:
You’ll need these to cut the line once it’s loaded onto the reel.
5. Arbor Knot or Uni-Knot:
Use one of these knots to attach the fishing line to the spool of the spinning reel securely.
6. Rod Guides:
These are the circular loops along the length of your fishing rod. You’ll thread the line through these guides.
7. Bail Arm:
This is the wire arm on the spinning reel that flips open and closed. When loading line, you’ll want to open the bail arm.
8. Someone to Assist (Optional):
While not strictly necessary, having a friend or someone to assist you can make the process smoother. They can help maintain tension on the line as you load it onto the reel.
Having all these items ready before you start spooling your spinning reel will help ensure a hassle-free experience. Make sure to follow the reel’s instructions and guidelines for line capacity, and take your time to load the line evenly to avoid any casting issues later on.
Steps:
1. Select the Right Line:
- Check the recommended line capacity for your specific reel. This information is often provided on the reel or in the user manual.
2. Thread the Line Through the Guides:
- Start by threading the end of the fishing line through the rod guides, starting with the one closest to the reel.
3. Attach the Line to the Reel:
- Open the bail (the wire arm on the reel) and tie the line to the spool using an arbor knot or a uni-knot. Make sure the knot is tight.
4. Close the Bail:
- After securing the line, close the bail. This will prevent the line from coming off the spool as you reel it in.
5. Hold the Line Taut:
- With one hand, hold the line taut between the rod and the reel. This helps maintain tension and prevents the line from becoming loose on the spool.
6. Start Spooling:
- With the other hand, start turning the reel handle. Keep a steady tension on the line as you reel it onto the spool.
7. Evenly Distribute the Line:
- Pay attention to the line distribution across the spool. Try to keep it even, and avoid overlaps or gaps. This helps prevent tangles and ensures smooth casting.
8. Fill the Reel to the Recommended Capacity:
- Fill the reel with line until it reaches the recommended capacity. Do not overfill, as this can lead to casting issues.
9. Trim the Excess Line:
- Once the reel is adequately spooled, use line clippers or scissors to trim the excess line, leaving a small tag end.
10. Test the Setup:
Make a few practice casts to ensure that the line is coming off the spool smoothly and without any tangles.
The key is to maintain even tension on the line as you spool it onto the reel. With practice, you’ll become more comfortable with the process. If you encounter any issues, don’t hesitate to seek guidance from experienced anglers or consult the reel’s user manual for specific instructions.